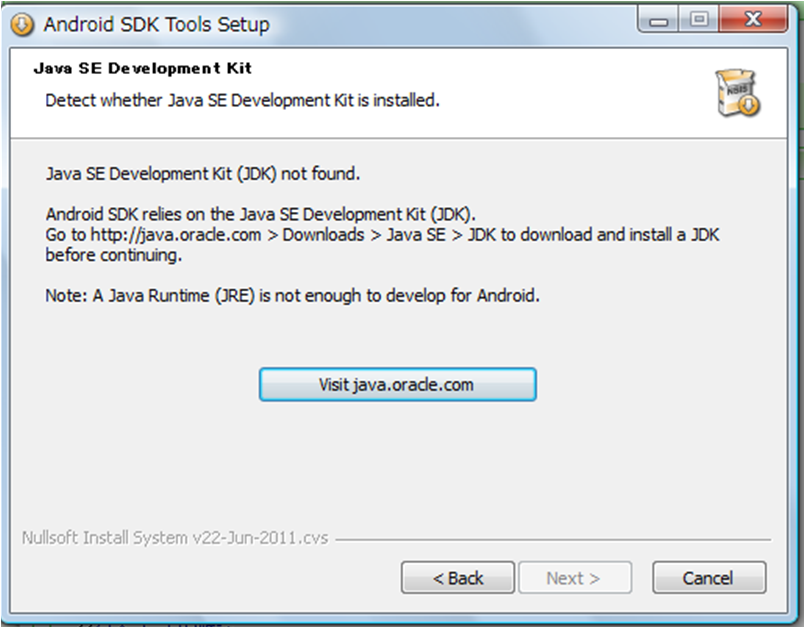
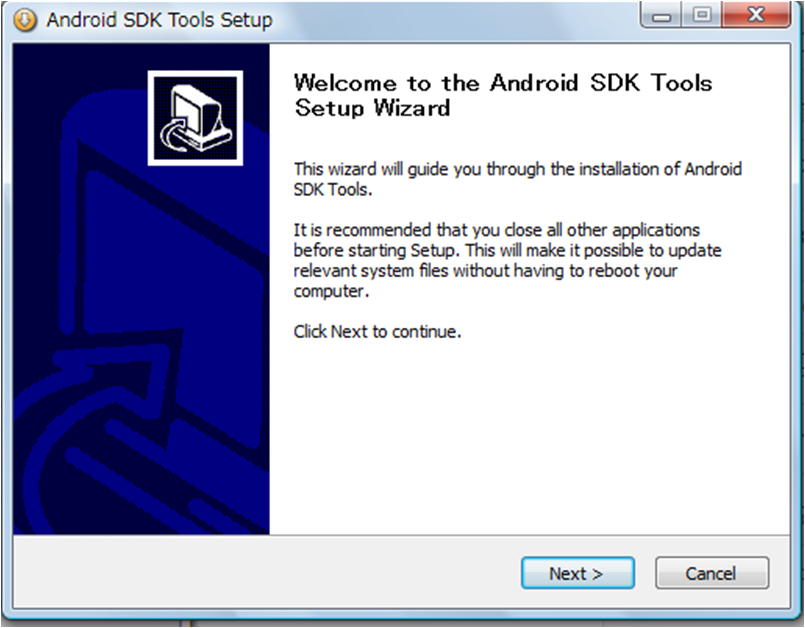
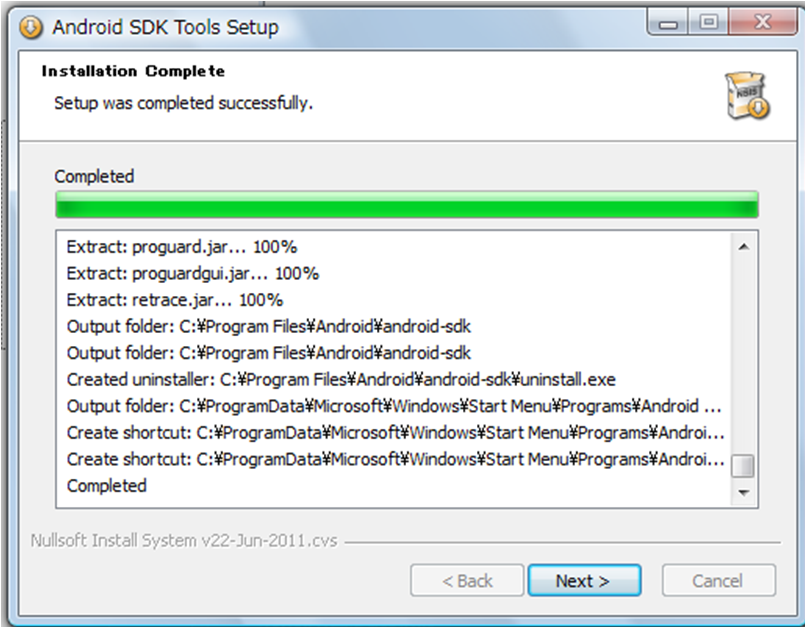
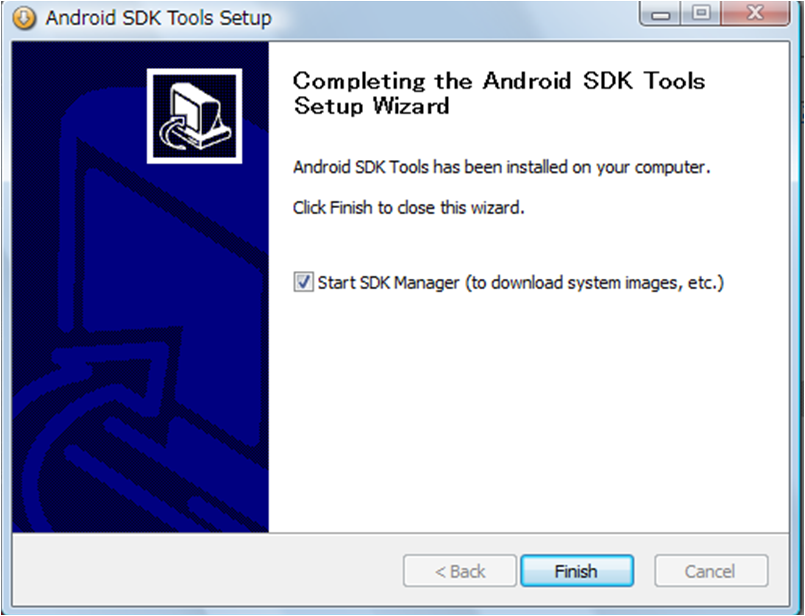
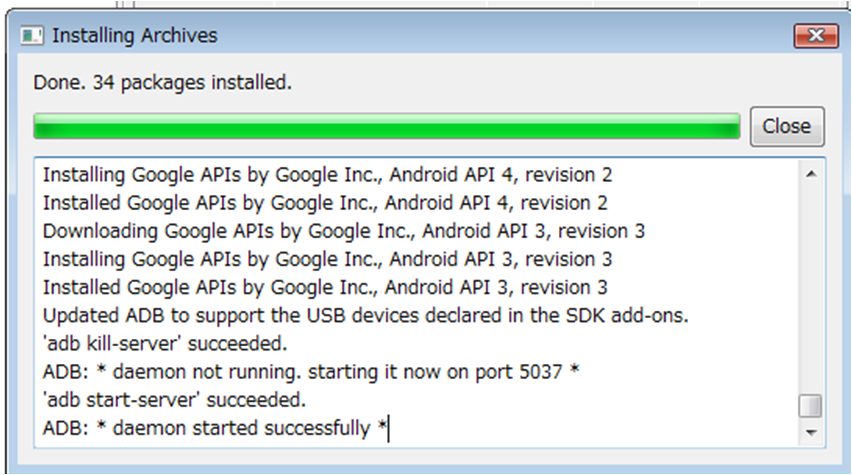
こんな画面が出たら完了!
いったんすべて閉じて大丈夫です。
私はインストールだけで2時間ぐらいかかりました・・・疲れた。
5.パスを通す
さて、今度は「パスを通す」という作業に入ります。
スタートメニュ→「コンピュータ」を右クリック→プロパティ→システムの詳細設定→環境変数
「新規」をクリックして
変数名:PATH
変数値:
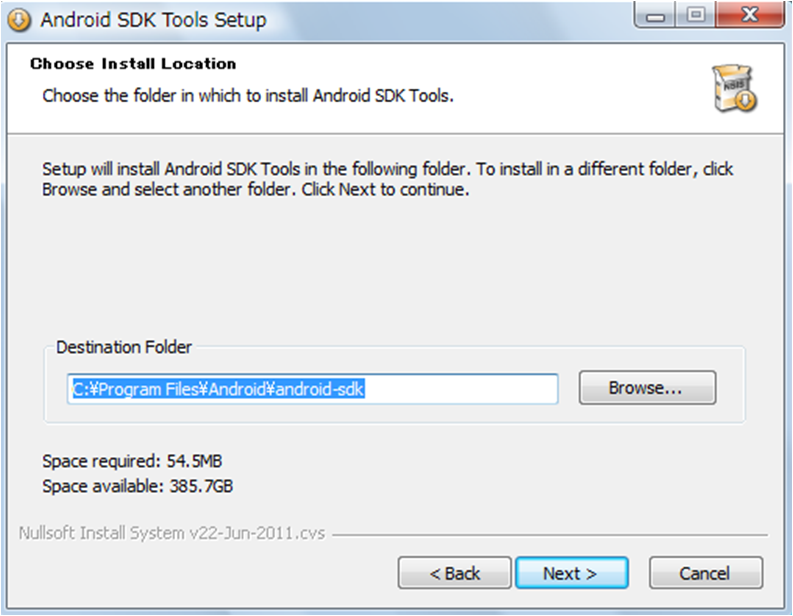
C:\Program Files\Android\android-sdk\tools;
C:\Program Files\Android\android-sdk\platform-tools;
でOKでした。
(/は¥に変換して下さい)
どうやら先ほどコピーしといたほうがいいですよ~と言っていた部分が太字の部分にあたるようです。
6.Xperia側の設定
まずはPCcompanionがインストールされている事が大前提。
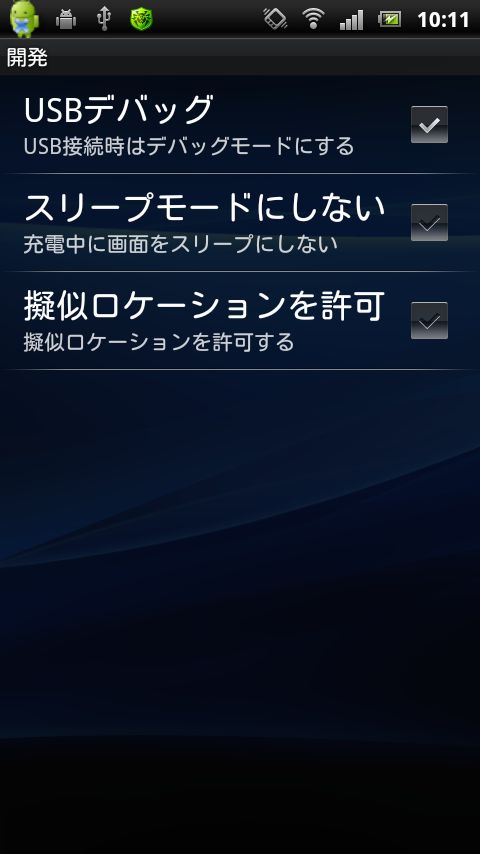
更に、Xperia側の
設定→アプリケーション→開発→USBデバッグにチェックを入れてください。
するとPCにドライバがインストールされる・・・はず。
7.ddmsしちゃいなYO
ということでようやくたどり着きました・・・長かった。
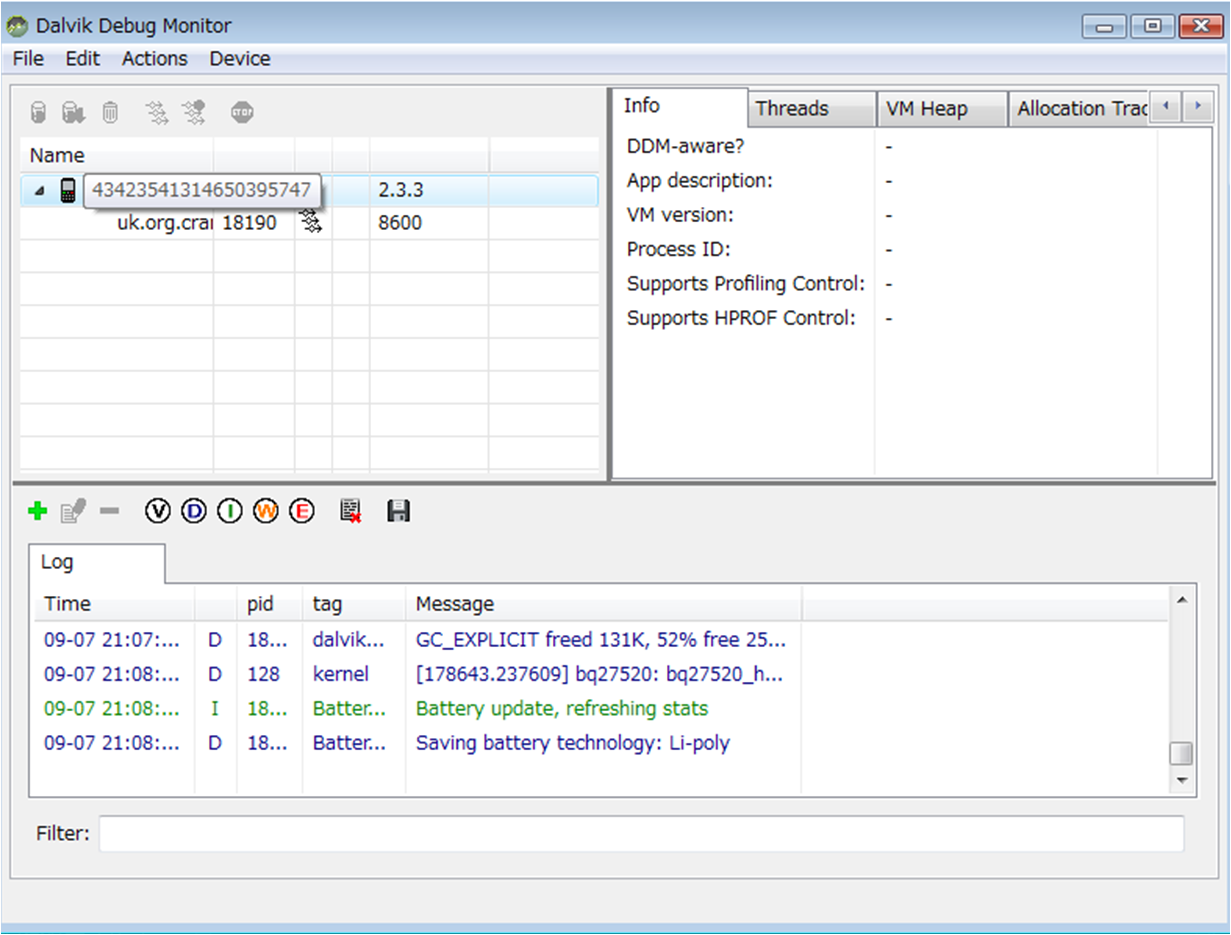
「Windows」キー+「R」で「ファイル名を指定して実行」を表示させ、そこに「ddms」と打ち込みます。
と。↓こんなのが出てきます。端末情報が表示されてたら成功です。

8.スクリーンショット!
漸く・・・・ようやくたどり着きました。
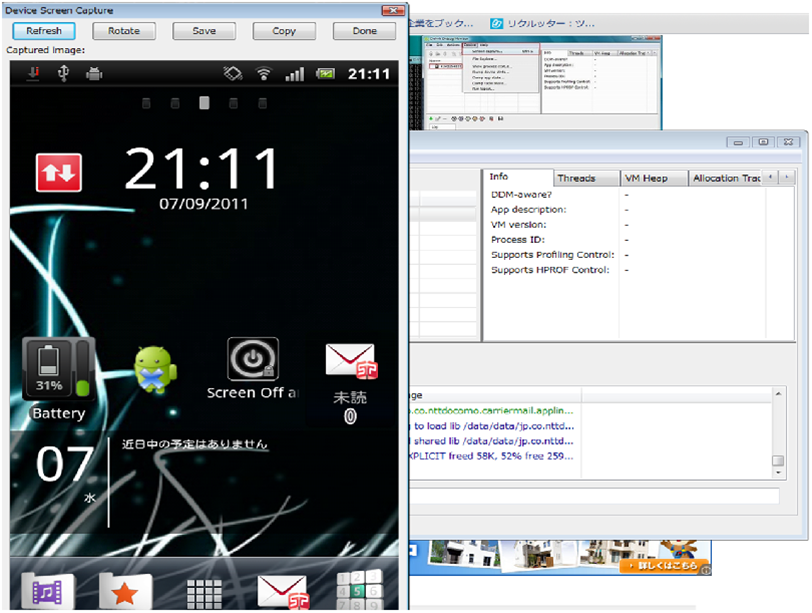
端末情報が表示されている行を選択して、上部メニューバーの「Device」で(ScreenCapture」を選択(Ctrl+Sでも行けるっぽい)すると。
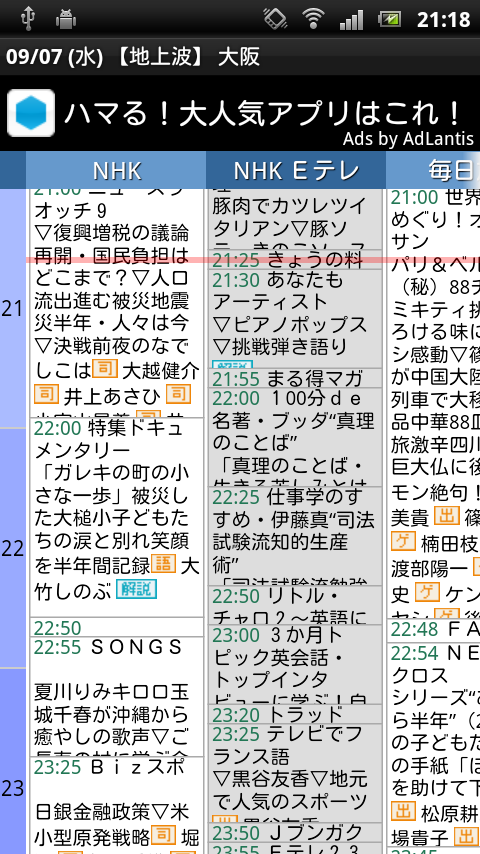
↓こんな感じで表示されます。
あらやだ私の何も整えていないホーム画面が。
ということで忘れずに「Save」を押して保存!長かった!